Services
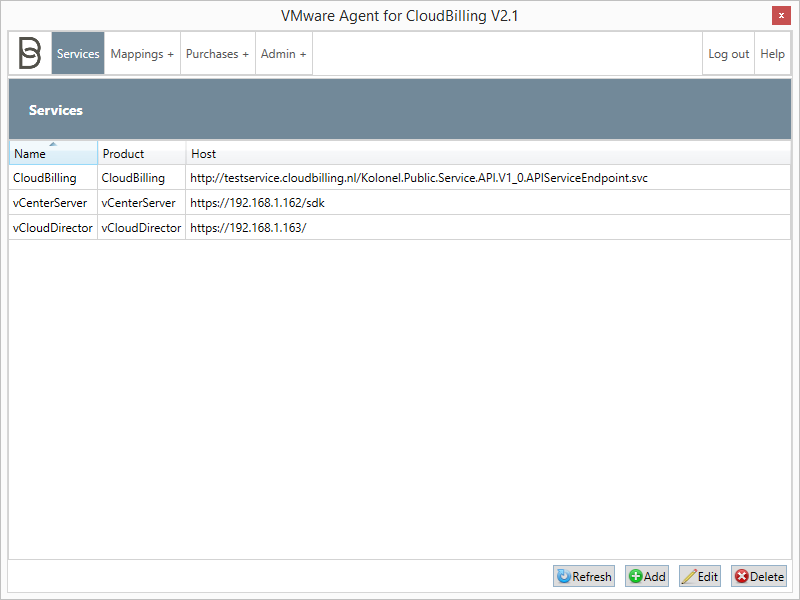
This section gives an overview of all services, indicating the Name, Product and Host of each service (see figure 1).
The listing on any of the properties can be sorted by clicking the column name. Clicking the column name toggles between sorting ascending and descending.
-
Refresh
To refresh the Services page, click “Refresh”. -
Add / Edit
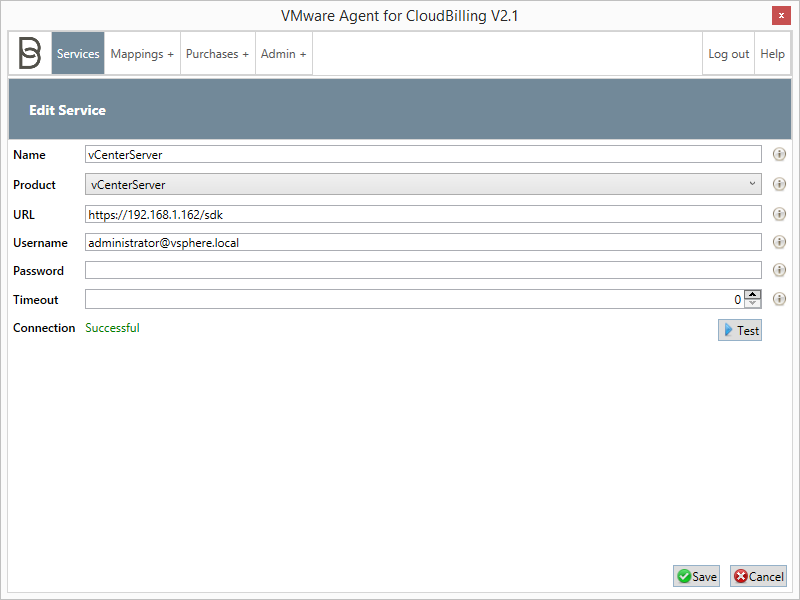
To add a service, click “Add”. To edit a service, select the row that needs to be edited and click “Edit”, or double-click the row. The application will show the “Edit Service” screen (see figure 2). Fill in or edit the fields as explained below. When done, click “Save” to save the service. To go back without saving, click “Cancel”.- Name: a name for the service
- Product: the service type that the user would like to connect to (the dropdown menu)
- Url: the url of the service, format: “https://Hostname” (example: “https://10.10.10.10”)
- Username: the username that will be used to connect to the service (the user must have admin rights), format: “username@system” (example: “john@system”)
- Password: the password that will be used to connect to the service
- Timeout: the number of seconds that the service should wait before timing out (0 seconds is the default)
- Connection: to test the connection click “Test,” this will result in either “Successful” or “Failed” (if the latter, the error message will show why the connection failed)
-
Delete
To delete one or more services, select the rows that need to be deleted and click “Delete”. A window will pop up, which asks the user whether he is sure and warns him that all customer mappings will be deleted as well. Click “Yes”.